Tinplate can printing is a meticulous process that involves several key stages to ensure high-quality outcomes. This article outlines the detailed steps of tinplate can printing, including design, plate making, printing, drying, and coating. Each stage is critical to achieving both visual appeal and durability.
 The first stage in the tinplate can printing process is the design phase. This is where creativity intersects with functionality. Designers use graphic design software to create visually striking designs that align with the brand image. The design must consider the shape and size of the can, as well as the printing method to be employed. Common tools for this stage include Adobe Illustrator or CorelDRAW, which facilitate precise design adjustments. Once the design is finalized, it must be prepared for plate making, ensuring that all colors and elements are correctly formatted for the printing process.
The next stage is plate making, which is essential for transferring the design onto the tinplate can. This process typically involves creating a printing plate, which is usually made of photopolymer or metal, depending on the chosen printing technology. The design is transferred to the plate using a UV exposure process, where the plate is coated with a light-sensitive emulsion. After exposure, the unexposed areas are washed away, leaving a raised image that will be used for printing. The tools required for this stage include a UV exposure unit, a washing station, and various chemicals for developing the plates. Proper handling and preparation of the printing plates are crucial to ensure high-quality printing.
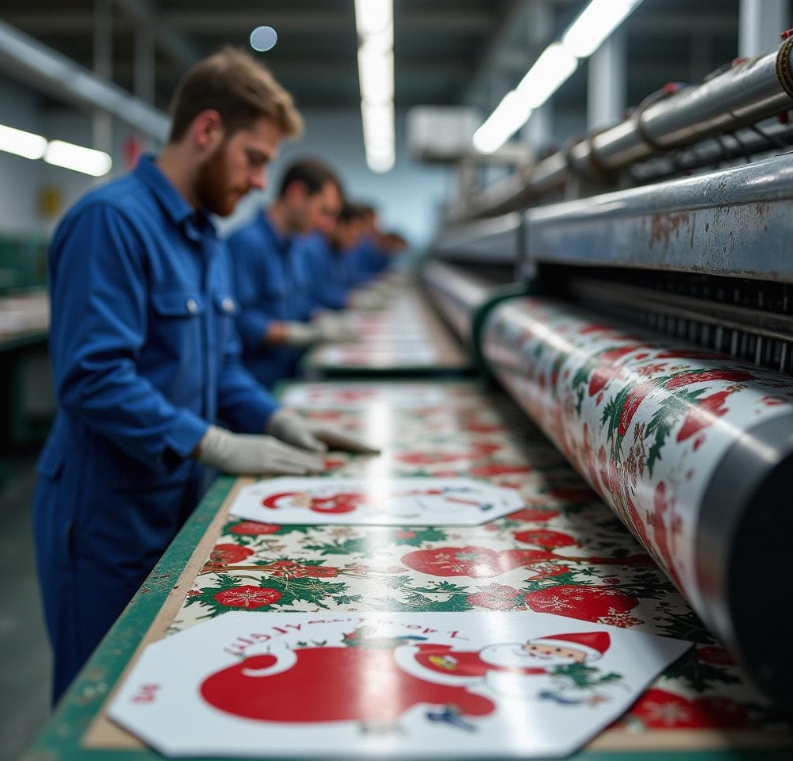
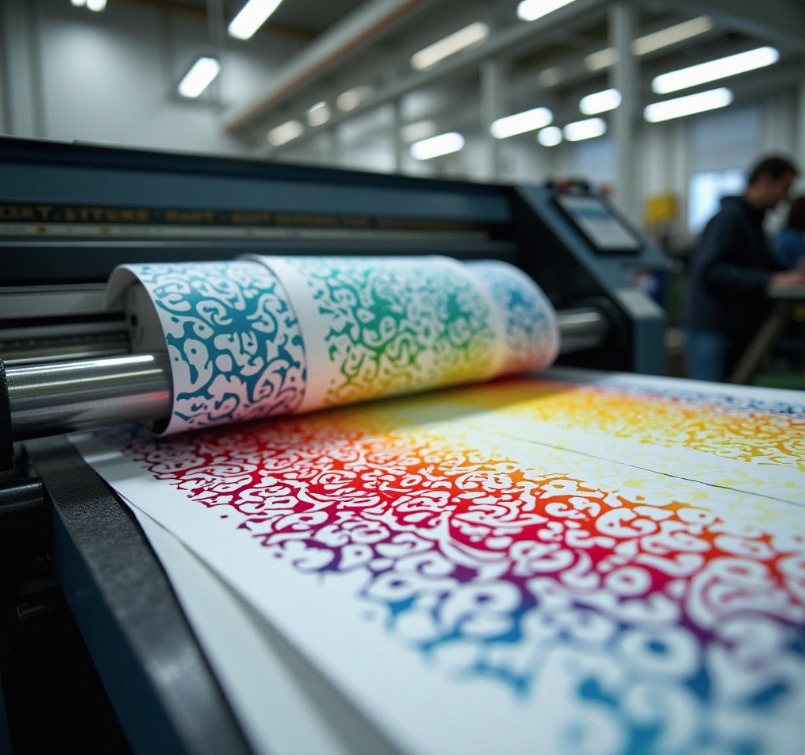
Once the printing plates are ready, the actual printing stage begins. This is when the design on the tinplate can starts to come to life. There are several printing processes, including offset, flexographic, and screen printing. Each method has its own set of tools and materials. For example, flexographic printing uses fast-drying inks and rubber or photopolymer plates, while offset printing requires a more complex setup, including ink rollers and a rubber blanket. At this stage, the can is fed into the printing press, and the design is printed on the surface of the can. Monitoring the consistency and alignment of the ink is essential to achieve a perfect print.
After printing, the tinplate undergo a drying process to ensure that the ink adheres properly and is smudge-free. This step is crucial as it prevents the ink from transferring during subsequent handling. Drying can be achieved through various methods, including air drying, heat drying, or UV curing, depending on the type of ink used. The choice of drying method affects the overall efficiency and quality of the final product. Tools such as drying tunnels or UV curing units can be used to expedite this process.
Finally, the last stage in the tinplate can printing process is coating. This step adds a protective layer to the printed surface, enhancing durability and resistance to scratches and environmental factors. Coating can be performed using a variety of materials, such as varnish or lacquer, which can be applied by spray or roller coating methods. The choice of coating material depends on the intended use of the can and the desired surface finish. Proper application of the coating is essential to ensure that the printed design remains vibrant and intact over time.
In summary, each stage requires specific materials and tools to achieve high-quality results. By strictly following these steps, manufacturers can produce aesthetically pleasing and durable tinplate cans to meet market demand.
Post time: Dec-18-2024


